
Why optimize images?
So you’ve taken some great photos that represent your business, maybe some examples of work you’ve performed for your customers, or other images that will help bolster the appearance of your website. You upload them to your site and add them to your pages, but now your site is loading at a snail’s pace. What happened?
Today’s cameras typically capture images with sizes between 5 and 15 Megabytes. It may not seem large if you’re making printouts, but when the image needs to be delivered over the internet, it must be considerably smaller to load and display quickly on a webpage; especially for users viewing from a mobile phone.
To solve this problem we’re going to shrink and compress our images so the file size is ‘web-friendly’. Your impatient users will be rewarded with files that download quick and use little bandwidth.
Another important benefit of image optimization is the potential for improvements in your search engine rankings. Modern search engines include page-load speed as part of their ‘grading’ mechanism for your site. Fast-loading images help to make fast-loading websites and Google loves speedy websites.
So let’s discuss a couple methods to shrink your image sizes and tune your website for performance.
1. Optimizing images before uploading
Here’s some quick target specs for fast-loading web images:
72 DPI – JPG format
While the target dimensions for a photo depend on its location, you can still use some basic guidelines and adjust from there.
| Location of photo | Target width |
| Page content – aligned left or right | 1024px |
| Page content – full width | 1280px |
| Hero banner | 1920px |
| Product photo | 1920px |
If you use a CMS like WordPress, it will take your uploaded image and automatically resize it into a thumbnail, medium, and large size. The dimensions for those sizes are easily configured in the Admin > Settings > Media section. Due to this convenient, built-in feature I would recommend WordPress users upload a 1920 pixel wide image in all cases. Keep in mind that WordPress does not compress the images during this resize process, so that still needs to be done beforehand.
Note: Uploading a large photo for a product will help accommodate any image zooming functionality that might be part of the e-commerce software.
Web-based image optimizers
kraken.io
https://kraken.io/web-interface
Kraken has a web-based uploader that does a great job shrinking the file size of your images. Just drag and drop your photos right into the browser window and kraken takes care of the rest. There’s also an Expert mode for fine-grained control of quality and other settings.
Note: The drawback of this solution is that the Free version limits you to file sizes less-than or equal to 1MB. This usually means you need to scale and shrink your images a bit before running them through kraken. We use it for a final optimization after an initial export from Photoshop.

Compressnow
https://compressnow.com/
Compressnow is a really simple online tool allowing you to upload your photos, set a compression level and get optimized images in return. Best of all, it’s totally free.

ImageOptim
https://imageoptim.com/online
This is an online companion to the Mac desktop tool below. It’s simple, but it’s free and works well. Plus, it doesn’t have the same file size limitation of kraken.
Desktop image optimizers
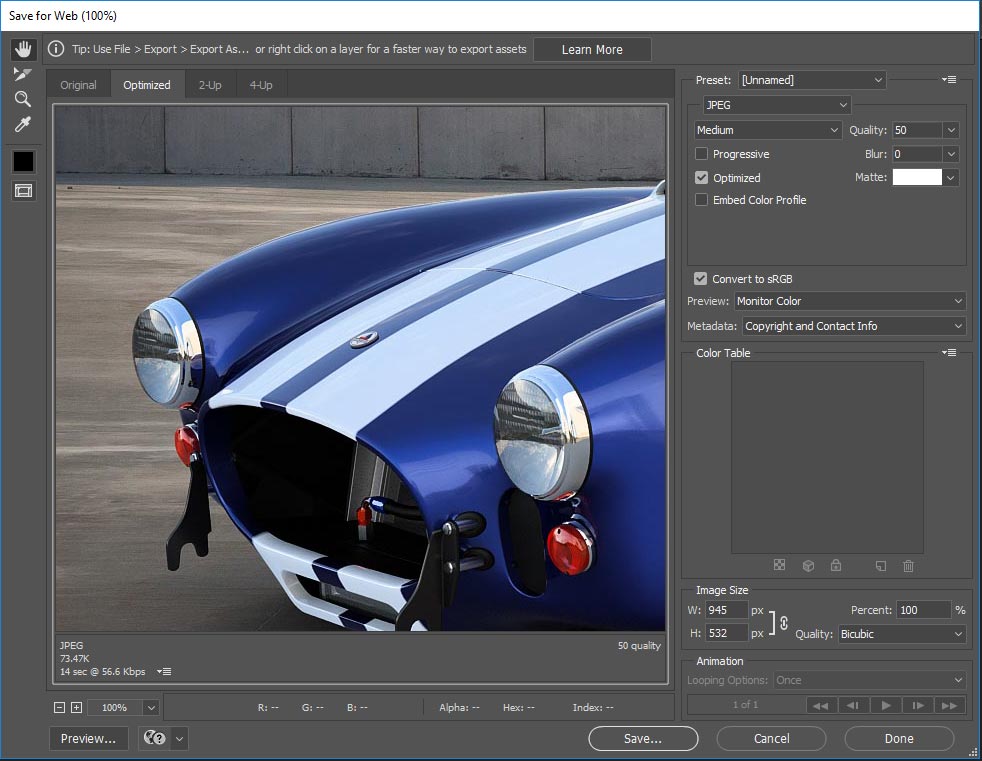
Photoshop (WIN | MAC)
https://www.adobe.com/creativecloud/photography.html
The ever-popular. Being an old timer, they don’t make it like they used to, but fortunately, the image export still works the same.
File > Export > Save for Web will bring up this dialog with some compression options:
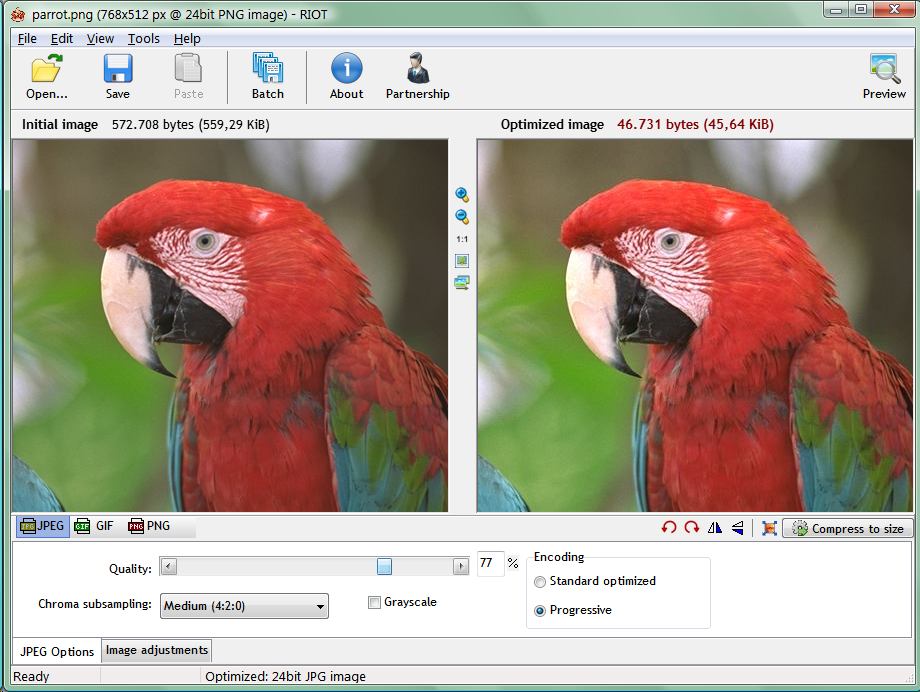
RIOT (WIN)
http://luci.criosweb.ro/riot/
This tool is tailored specifically for compressing images. It’s only available for Windows OS, however.
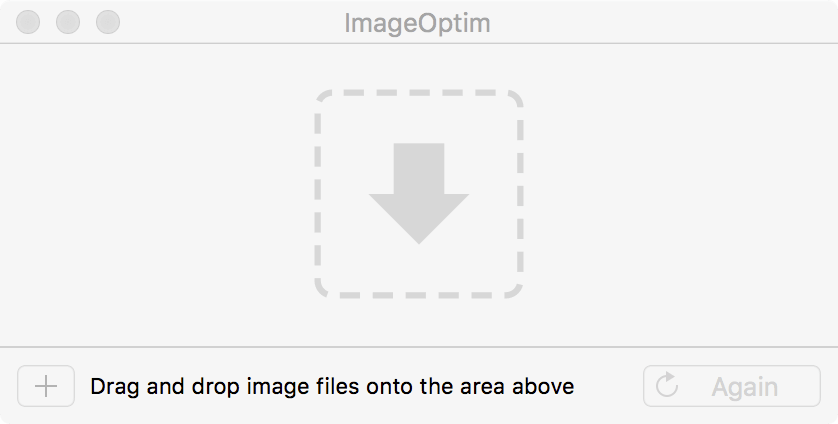
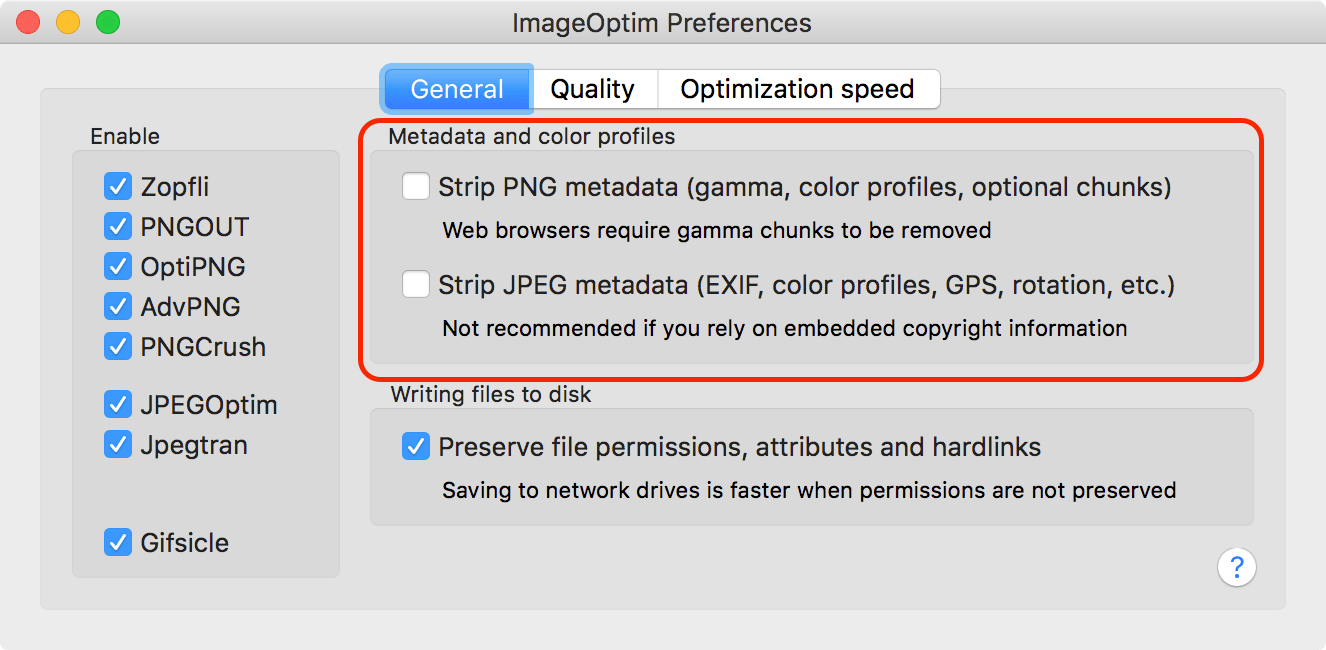
ImageOptim (MAC)
https://imageoptim.com/mac
This is a free and open-source Mac app that is dead-simple to use. It removes invisible junk like EXIF data and shrinks your images while maintaining good quality.
2. Optimizing images after uploading
WordPress Plugins
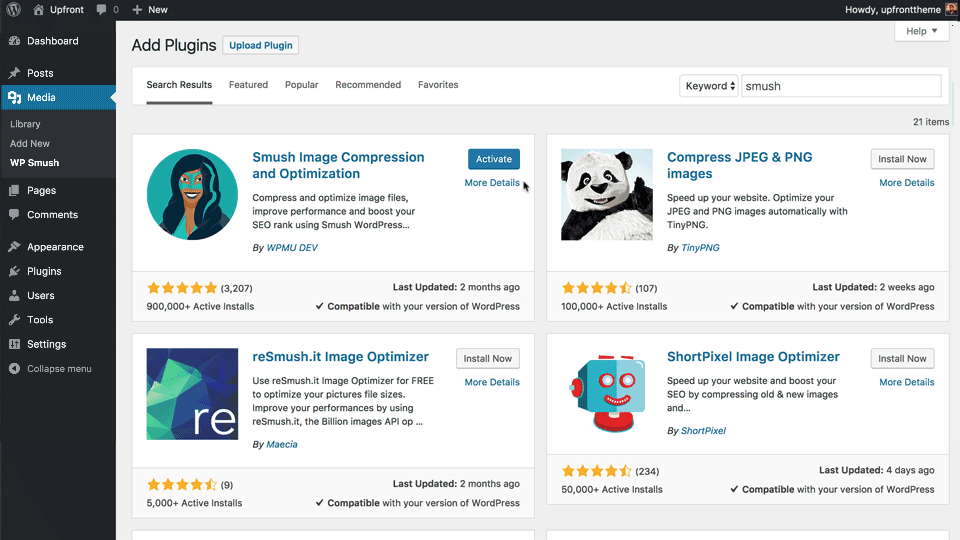
WP Smush
https://wordpress.org/plugins/wp-smushit/
This plugin can be used to bulk compress all of the images that you’ve already uploaded or configured to automatically compress media uploads on-the-fly. One feature I love is that it allows you to set a max width and height and WP Smush will resize your images as it compresses them. It even integrates with many media gallery plugins.
EWWW Image Optimizer
https://wordpress.org/plugins/ewww-image-optimizer/
This plugin has a very similar feature set to WP Smush if you would like to try something different or have issues with your Smush install. They also offer a paid version that will compress images in the background on their remote server using more advanced algorithms.
How do you know if your images are compressed enough?
It’s difficult to know whether you’ve done all you can to optimize your images without using some tools to evaluate your sites performance. Here’s a few that will give you some feedback on file sizes and whether you have some room for improvement:
One last thing to keep in mind.
There is a drawback to optimizing image sizes. The more you compress your photos, the more the quality will be reduced. It’s always a balancing act trying to get the best performance to quality ratio, so be sure to evaluate your image quality after doing any bulk compression operations.
